So let's dive down into this build...
 First coil is finished wrapped 8 times still need to tighten the wires up to make sure none are crossing and everything is close together.
 Placing it on your deck is easy tighten down only one side of the deck since you'll have another set of wires going through the positive post.
 The reverse side picture of the first coil. You'll just repeat these steps for your second coil the only difference is once placed you'll tighten the positive post down.
 Still a mess but once clipped, clamped and positioned you'll be firing great in no time. Before firing your coils always check the ohm reading before pulsing.
 Get your cotton ready not too thick but enough that it won't collapse when you fire it. Twist one end off to slip through the coils to wick it.
 Tuck one end under the side of the coil but not blocking the space below to allow good air flow. Snip that just past the deck and tuck again.
 Fires like a champ, now put your RDA back together with the sleeve, add some extra liquid and top cap. You're ready to vape on.
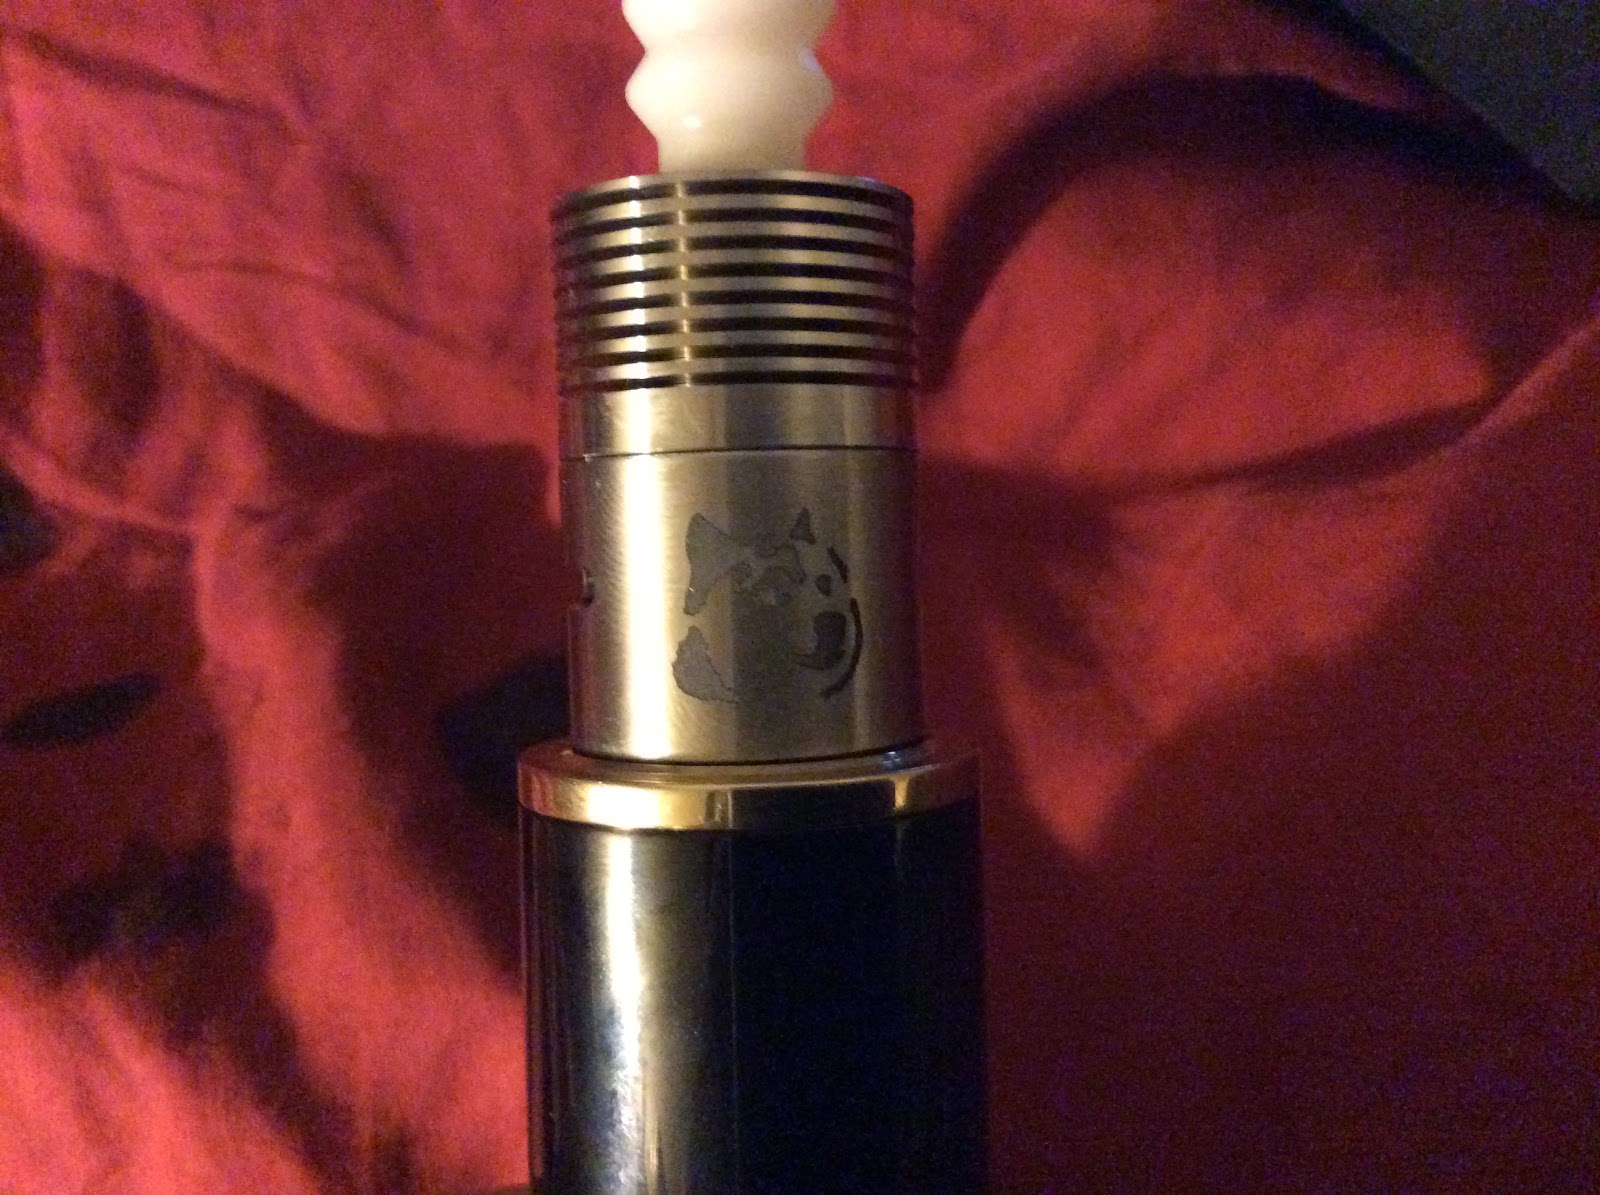
She vapes like a beauty. It takes a few times to get this build to work right if you're not familure with parallel builds, mainly to get the wires not to over lap. Once you build it you'll love it and like me it'll probably become your go to coil. I was building on my Doge which if you can't tell by now is my favorite RDA. Stay tuned for more.
Angel & Bran


